
Download Project (Full Project)
Step 1:
In this tutorial we create drag and drop multi file upload in asp.net web application. First create asp.net web application and select MVC then click ok. Now visual studio creates a project for you. Now home index view under write some html, JavaScript and CSS code. First create a div tag id is “dropZone”. This id detects the file upload using jQuery. Now we need to add “jQuery.filedrop.js” by this commend (Install-Package jQuery.filedrop -Version 1.0.1) in console also this files use to reference by drag and drop in the view. And also write some JavaScript code bellow the reference. Now given bellow the view source code:
@{
    ViewBag.Title = "Home Page";
}
<style>
    #dropZone {
        border: 1px dotted black;
        text-align: center;
    }
</style>
<div class="jumbotron">
    <div id="dropZone">Drag and drop your file(s) here</div>
    <ul class="list-group" id="uploadedFiles"></ul>
</div>

@section Scripts{
    <script src="~/Scripts/jquery.filedrop.js"></script>
    <script type="text/javascript">
        $(function () {
            $('#dropZone').filedrop({
                url: '@Url.Action("Upload")',
                allowedfiletypes: ['image/jpeg', 'image/png', 'image/gif'],
                allowedfileextensions: ['.jpg', '.jpeg', '.png', '.gif'],
                paramname: 'files',
                maxfiles: 5,
                maxfilesize: 2, // 2 mb file maximum size
                uploadFinished: function (i, file, response, time) {
                    $('#uploadedfiles').append('<li class="list-group-item">' + file.name + '</li>')
                }
            })
        })
    </script>
}
Step 2:
Now add the Ado.net entity data model for connect the database. This database table has three property names as Id, Name, Extension. When we connect the database we can see “.edmx” file which is representing the database by the ER diagram. Now in the Home controller create the database context file for access the database and table. Now write some c3 code under the “Upload” method and also this method take the parameter for save the data into database and also upload the file into our project. When the file are save then return json. Given bellow the controller code:
using System;
using System.Collections.Generic;
using System.IO;
using System.Linq;
using System.Web;
using System.Web.Mvc;

namespace FileDragDrop.Controllers
{
    public class HomeController : Controller
    {
        public ActionResult Index()
        {
            return View();
        }
        [HttpPost]
        public ActionResult Upload(IEnumerable<HttpPostedFileBase> files)
        {
            TestDBEntities context = new TestDBEntities();
            foreach (var file in files)
            {
                string filePath = Path.GetFileNameWithoutExtension(file.FileName) + Path.GetExtension(file.FileName);
                file.SaveAs(Path.Combine(Server.MapPath("~/Image"), filePath));

                //Area for TABLE data insert
                PhotoUpload tbl = new PhotoUpload();
                tbl.Name = filePath;
                tbl.Extension = Path.GetExtension(file.FileName);
                context.PhotoUploads.Add(tbl);
                context.SaveChanges();
            }
            return Json("Uploaded Successfully");
        }
    }
}
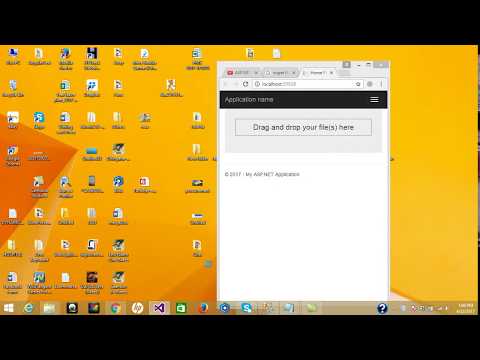
Step 3:
Now build and run the project.
About Teacher
Comments