
"CKeditor Demo" | Save ckeditor Data In Database and Displaying It | Part-1
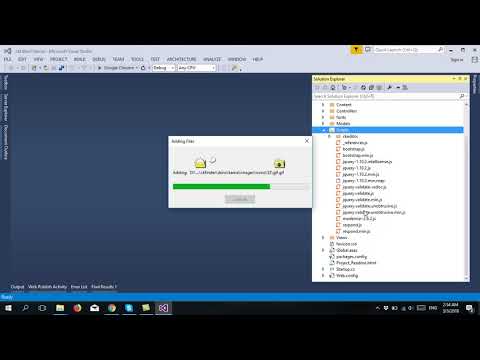
Photo upload using ckFinder and ckEditor | ckFinder configuration with ckEditor | Part-2
Photo upload into DataBase from ckFinder | ckEditor photo upload into Database | Part-3
Download Project (Full Project)
Step-1
In this part i will show how to Photo upload using ckFinder and ckEditor. Now Open visual studio then create ASP.NET Web application. You can change project name and solution name. Then select MVC and click ok. Visual studio create a default project for you. First download ckEditor and ckFinder then the reference add to project under scripts folder. Given bellow the Controller source code:
using System;
using System.Collections.Generic;
using System.Linq;
using System.Web;
using System.Web.Mvc;

namespace ckEditorTutorial.Controllers
{
    public class HomeController : Controller
    {

        public ActionResult Index()
        {
            return View();
        }

    }
}
Step-2
Now add the reference ckEditor and ckFinder in index view top. Now add ckeditor DLL into our references directive. Then go to index view then write html code like “textarea” tag and add class name as “ckeditor” also give the name attribute. Given bellow the View source code:
@{
    ViewBag.Title = "Home Page";
}
<script src="~/Scripts/ckeditor/ckeditor.js"></script>
<script src="~/Scripts/ckfinder/ckfinder.js"></script>

<div class="jumbotron">
        <textarea class="ckeditor" name="editor1"></textarea>
        <button type="submit">save</button>

</div>
Step-3
Now build and run the project.
About Teacher
Comments