
Registration Form With Image Upload In MVC | Using Jquery Ajax | Part-1
Upload And Display Image In MVC | Registration With Image | Part-2
How To Create Login Page In ASP.NET MVC | Using Jquery Ajax | Login & Registration Demo | Part-3
ASP.NET MVC form authentication with role provider
Step-1
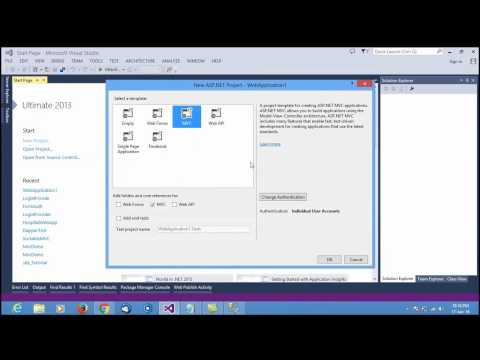
In this part i will show how to authentication with role provider by using ASP.NET MVC. First open visual studio then create new project and select asp.net web application then click ok now select MVC then click ok. Now delete the about and contract page under views->Home folder. And remove the code from home controller. Now create login method under home controller. Under models folder connect the Ado.net entity data model and select the database and table. This process automatic generate the ER diagram and connect the database. Now Log In method create a view select model, Template and data context class then click add. In this controller have two log in view one is http post and another is http get. http get return the view and http post restive the parameter and validation check and return view. We are decorate the method for role permeation. Sign out method responsible to form authentication is sign out and redirect to the index view in home controller. Given bellow the controller code:
public ActionResult Index()
{

    return View();
}

public ActionResult Login()
{

    return View();
}

[AllowAnonymous]
[HttpPost]
public ActionResult Login(LoginModel model, string returnUrl)
{

        using (SampleDBEntities objContext = new SampleDBEntities())
        {
            var objUser = objContext.Users.FirstOrDefault(x => x.AppUserName == model.UserName  && x.Password == model.Password);
            if (objUser == null)
            {
                ModelState.AddModelError("LogOnError", "The user name or password provided is incorrect.");
            }
            else
            {
                FormsAuthentication.SetAuthCookie(model.UserName, model.RememberMe);

                if (Url.IsLocalUrl(returnUrl) && returnUrl.Length > 1 && returnUrl.StartsWith("/")
                   && !returnUrl.StartsWith("//") && !returnUrl.StartsWith("/\\"))
                {
                    return Redirect(returnUrl);
                }
                else
                {

                    return RedirectToAction("RedirectToDefault");
                }
            }
        }

    return View(model);
}
Step-2
View just shows the name by the section and if the session is null or not permitted of the user can’t access the view. In this view we use razor syntax for show the value. Given bellow the view code:
@{
    ViewBag.Title = "UserIndex";
}

<h2>User Index</h2>
<div>Welcome @(Request.IsAuthenticated? HttpContext.Current.User.Identity.Name : "")  (User) </div>
Step-3
Edit web.config for Enable our custom role provider. Given bellow the view code:
<roleManager defaultProvider="MyRoleProvider" enabled="true">
	      <providers>
	        <add name="MyRoleProvider" type="MvcAuthentication.MyRoleProvider, MvcAuthentication"/>
	      </providers>
    </roleManager>
Step-4
Now build and run the code.
About Teacher
Comments